Diamond microdermabrasion has rapidly become a popular choice for those seeking a non-invasive way to rejuvenate their skin. This advanced exfoliation technique utilizes a diamond-tipped wand to gently remove the outermost layer of dead skin cells, revealing brighter, smoother skin underneath. Unlike traditional microdermabrasion methods that use crystals, diamond microdermabrasion is considered cleaner and more hygienic, minimizing the risk of cross-contamination and offering a more controlled and precise exfoliation. Its effectiveness in addressing various skin concerns, from acne scars to age spots, makes it a highly sought-after treatment in cosmetic dermatology.
Ready to discover the secrets to achieving radiant, healthy-looking skin? This comprehensive guide provides a detailed, step-by-step walkthrough of the diamond microdermabrasion treatment process, from initial consultation to post-treatment care. Let's delve into the specifics and uncover how this transformative treatment can benefit your complexion.
Safety Guidelines
- Avoid sun exposure for at least 24-48 hours after treatment to prevent hyperpigmentation and sunburns. Use a high SPF sunscreen.
- Do not pick or scratch at any treated areas. Allow the skin to heal naturally. This can lead to scarring or infection.
- Consult your dermatologist or aesthetician before treatment if you have any skin conditions like eczema, rosacea, or active acne breakouts, or if you are pregnant or breastfeeding.
Methods: Microdermabrasion Treatment with Diamond Tips
Tools Needed
- main machine
- accessories
- white rubber hose
- black rubber hose
- red rubber hose
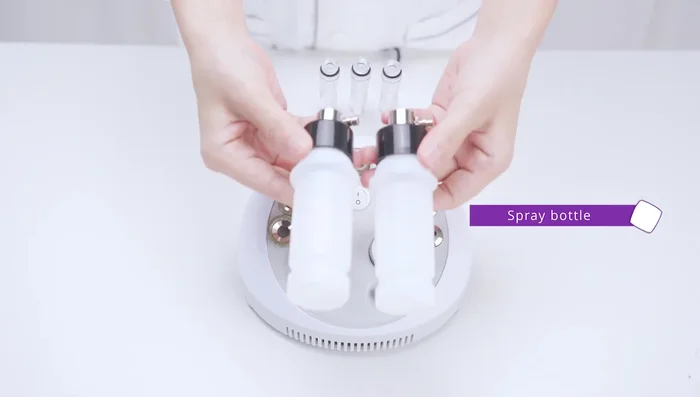
- spray bottles
- diamond tips
- glass tubes
- cotton filter
- diamond tapes
- power cord
- rubber rings
Step-by-Step Instructions
Prepare the Machine
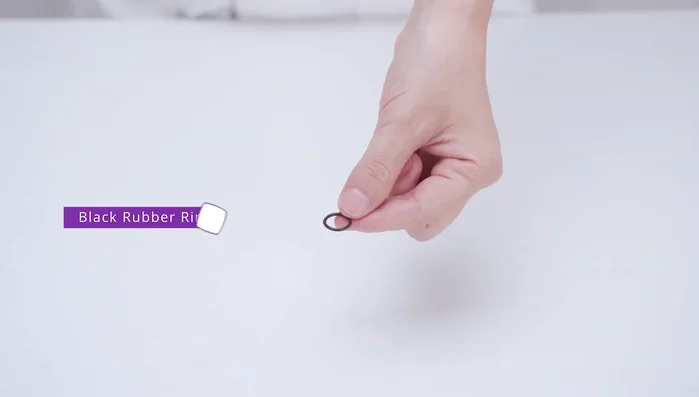
- Take out the main machine and all the accessories, including hoses, spray bottles, diamond tips, and rubber rings.
- Take out one black rubber ring to install under the diamond tip. Replace any faulty rubber rings with new ones.
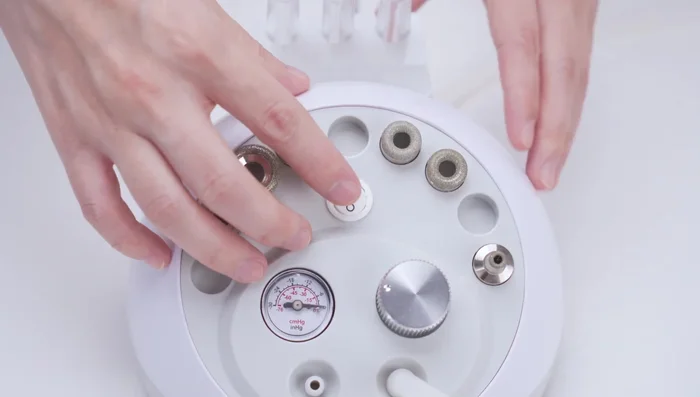
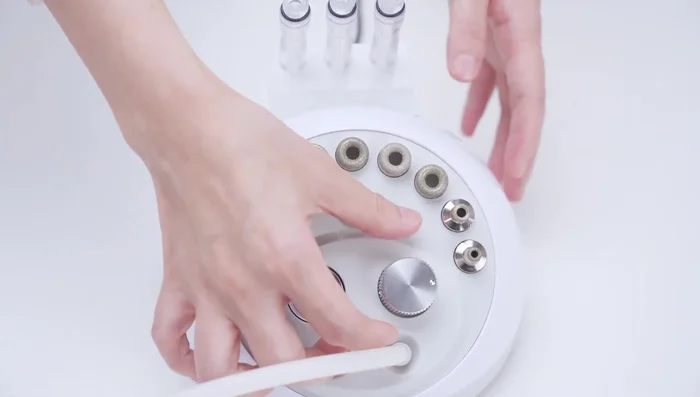
- Place three diamond tips and the handle holder on the machine. Ensure the outlet is on the left and the inlet is on the right.

Prepare the Machine Connect the Hose and Diamond Tip
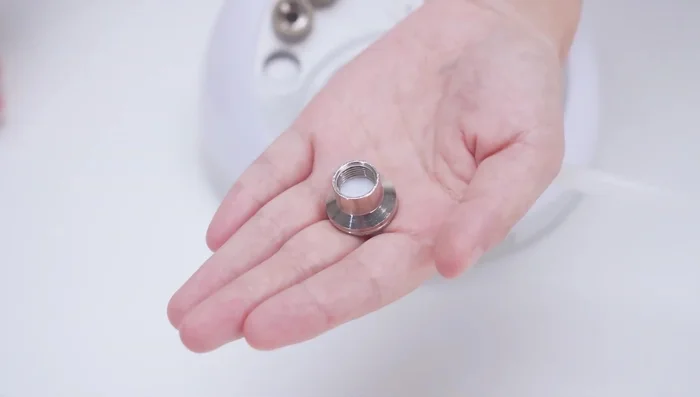
- Take out the white rubber hose and insert one end into the inlet and the other end into a diamond tip.
Connect the Hose and Diamond Tip Prepare the Diamond Tape
- Select a diamond tape, place a cotton filter (never skip this step!), and twist the cover back on.
Prepare the Diamond Tape Start the Microdermabrasion Treatment
- Connect the power supply, turn on the device, and adjust the suction level using the section knob (counterclockwise to lower, clockwise to increase).
- Perform the treatment for approximately 10 minutes. Turn off the machine, detach the diamond tape, and discard the cotton filter.
Start the Microdermabrasion Treatment Clean the Diamond Tip
- Clean the diamond tape with clean water.
Clean the Diamond Tip Prepare for Glass Tube Treatment
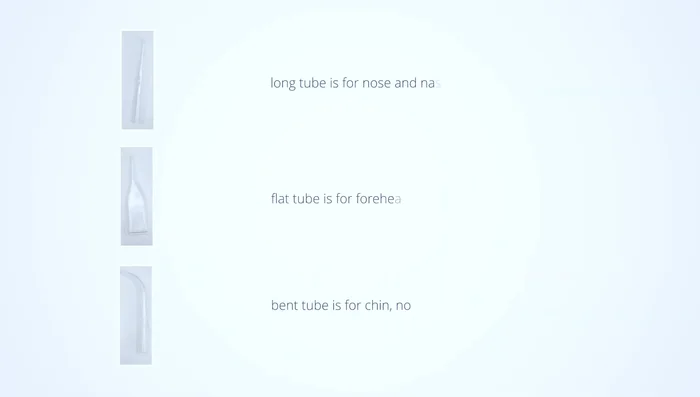
- Take out the three glass tubes (long for nose and nasolabial folds, flat for forehead and cheeks, curved for chin, nose, and cheeks). Detach the white rubber hose and connect a glass tube.
Prepare for Glass Tube Treatment Perform Glass Tube Treatment
- Adjust the suction level. Press down on the small round hole on the glass tube to operate and release to stop.
- Turn off the device after treatment.
Perform Glass Tube Treatment


Tips
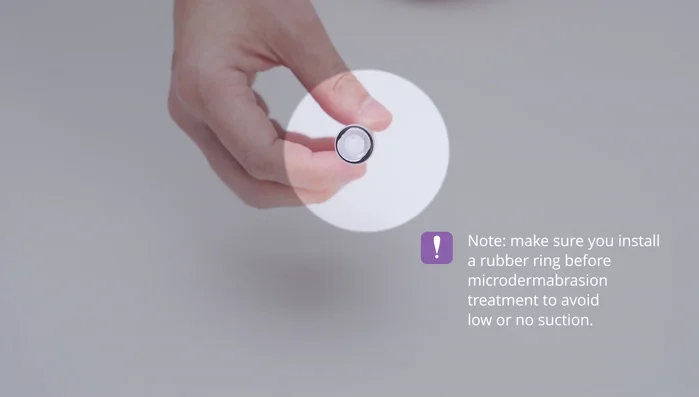
- Make sure you install a level ring before microdermabrasion treatment to avoid low or no suction.
- Never skip the cotton filter step.
- Do not use products with too thick consistency in the spray bottle.